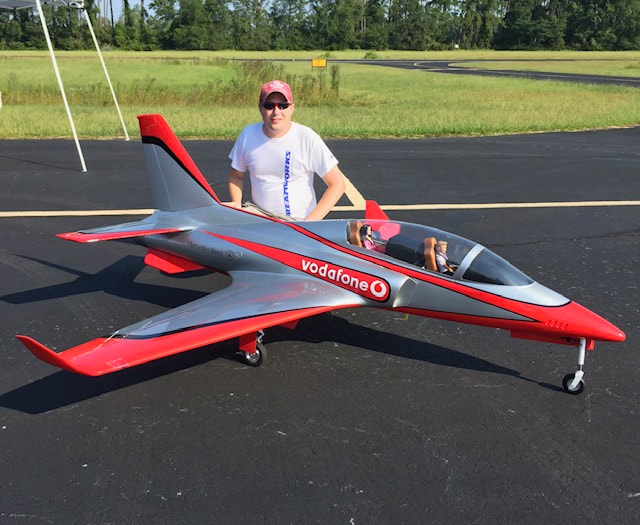
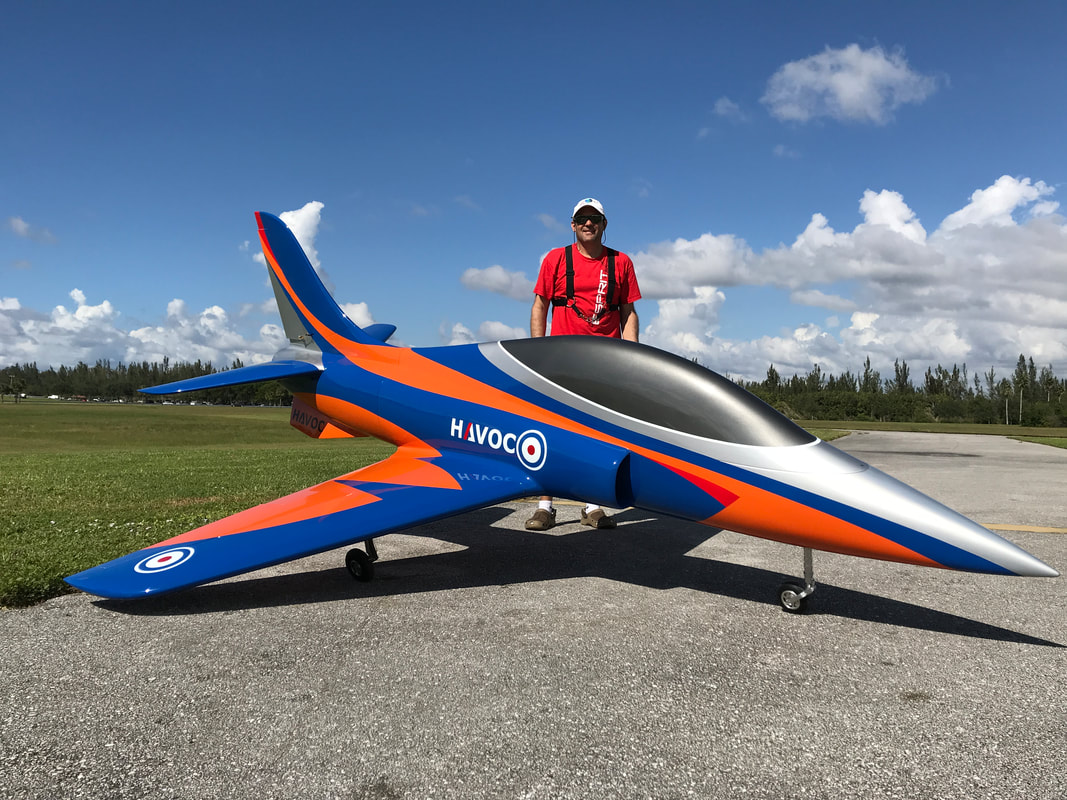
getting ready for jet precision aerobatics
Five years ago, I moved away from Scale Aerobatics (after 29 years) to flying
Jet Precision Aerobatics (F3S). I was prompted by a good friend, Chris Tomberlin, to document my experiences in such a way that it may help other pilots who are contemplating on getting into jets. Please remember, these are my experiences and I am going to be very careful with what I post, since I would like your travel to be safe and knowledgeable. I had to ask a LOT of questions from many jet pilots who helped me along the way. I am thankful for all the help and guidance that were allotted to me, and, in so doing this is a conglomeration of all the workable solutions. You may agree or disagree with some or even all of my post. I may seem to be pushing a particular product (at times), however, those products are the ones that I trust and actually use in my jet. I would not advise about something that I do not know about, and would defer to others if so required. Let us start from scratch..... and move deeper as we go along. Since this is aimed at flying Jet Aerobatics, everything below is aimed in that direction! The first thing to consider: AIRCRAFT. If you are going to fly Jet Precision Aerobatics, your platform is going to be the workhorse of the entire concept. Selecting the right aircraft for you, depends on a few factors: (a) The aircraft should be designed for flying aerobatics. (b) Choose colors that make it easy for you to decipher what it's doing up there. Silver or light blue could be an issue, especially on overcast days. Being able to see wings level is the utmost desire! (c) Size and weight of aircraft as it pertains to 55lb or going bigger requiring the LTMA-1 (or 2). (d) Select an aircraft that is visually appealing to you. (e) Decide if you want to use vectored thrust or not and if the jet can be modified subsequently. (f) Selection of pneumatic or electric landing gear is easier at this stage. Pneumatics are definitely lighter but are more complex with running air-lines, gauges, pump etc. Electrics are heavier and usually require it's own battery but are much easier to install and also more reliable. There are many jets that fall into the "Sport Jet" category. However, you may find the pilot workload a bit greater or lesser depending on your choice of aircraft. Although I really love how my Leonardo flies, it is very difficult (if not almost impossible) to find one now. Your choices will vary with these: Avanti, AreS, Aspire, Bravado, Futura, Havoc, Mephisto, Picaro, Predator, Rebel, T-1, Viperjet, Voyager, etc. Secondly: RADIO SYSTEM. We all have our preferences and already own a variety of radios. Ensuring that your present system is up to the task is vitally important, as this is the lifeline to sustain longevity of your steed. I would surmise that you should have 11-12 channels on your radio to make mixing easier in the long run. Some pilots will say that you can get away with less channels, and you could! However, this is aerobatics and if you really want to trim out your aircraft properly, down to the last "oomph," you will need to separate the channels for fine tuning. Let's see how the channel separations would work: Elevators (2), Rudder (1), Ailerons (2), Flaps (2), Throttle (1), L/Gear (1), Brakes (1), Front steering (1), Possible gear doors (1). Using your present choice of radio system, will cut down on your expenditures. Technically, you could tie the front steering to the rudder channel and program it through the L/Gear controller (if you use electric gears) or through a power distribution system. On the other hand, I have found that having a separate channel for steering makes it easier to set up any gyro controlled system which is integrated in the L/Gear controller. Thirdly: TURBINE. Choosing a turbine when getting into jets for the first time, can be confusing and we can be swayed in various directions by different pilots. When I started 5 years ago, my main searches for an answer as to which one to use were in three areas. (1) Reliability! Turbines are quite different from our Desert Aircraft gas engines which we have become so accustomed to choking, flipping & starting that we take it for granted that they will always work. My selection was based on this as a priority. (2) Cost/performance! Searching for the best performance/cost comparison was paramount for me as I did not have an unlimited budget, so expenditure had to be taken into consideration. My choice was made after looking at the variety of turbines in the 200-220 arena. (3) Service! Knowing nothing about turbines, I needed a company that would offer repair service within the USA and also one that I could contact in case of issues. KingTech USA filled all of these requirements for me and I purchased a KT210-G2 and also a KT235-G4 subsequently. They have both worked for me and I see no reason to switch manufacturers. Your search may be different, but this is my experience. There is only one reason why I moved from the KT210 to the KT235. Simply put, lack of vertical penetration. Tailor your selection of a turbine so that you have enough power to push you through the vertical maneuvers, especially considering that there may be elements on the vertical up line. I struggled after a full roll to match the prior equal line and still be able to pull a ¾ loop afterward. The KT235 took care of that discrepancy with ease! Things to pay attention to: FUEL SYSTEM.
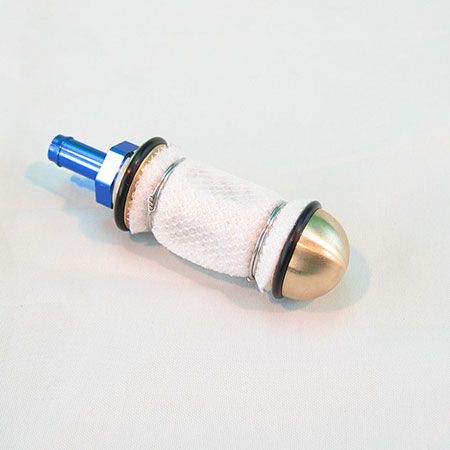
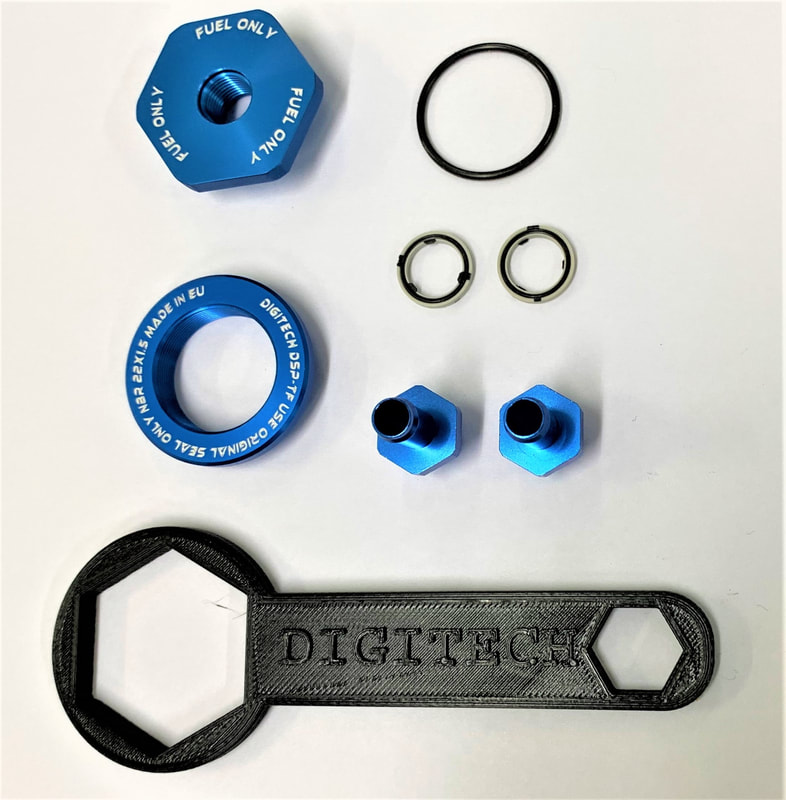
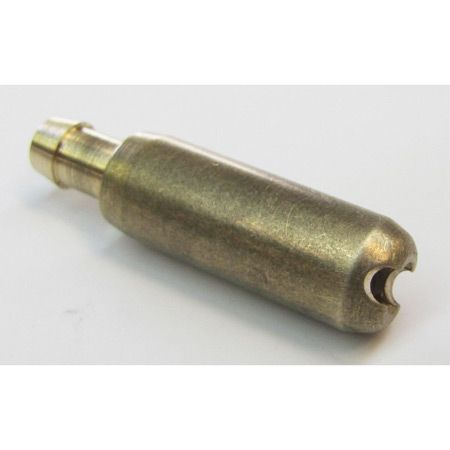
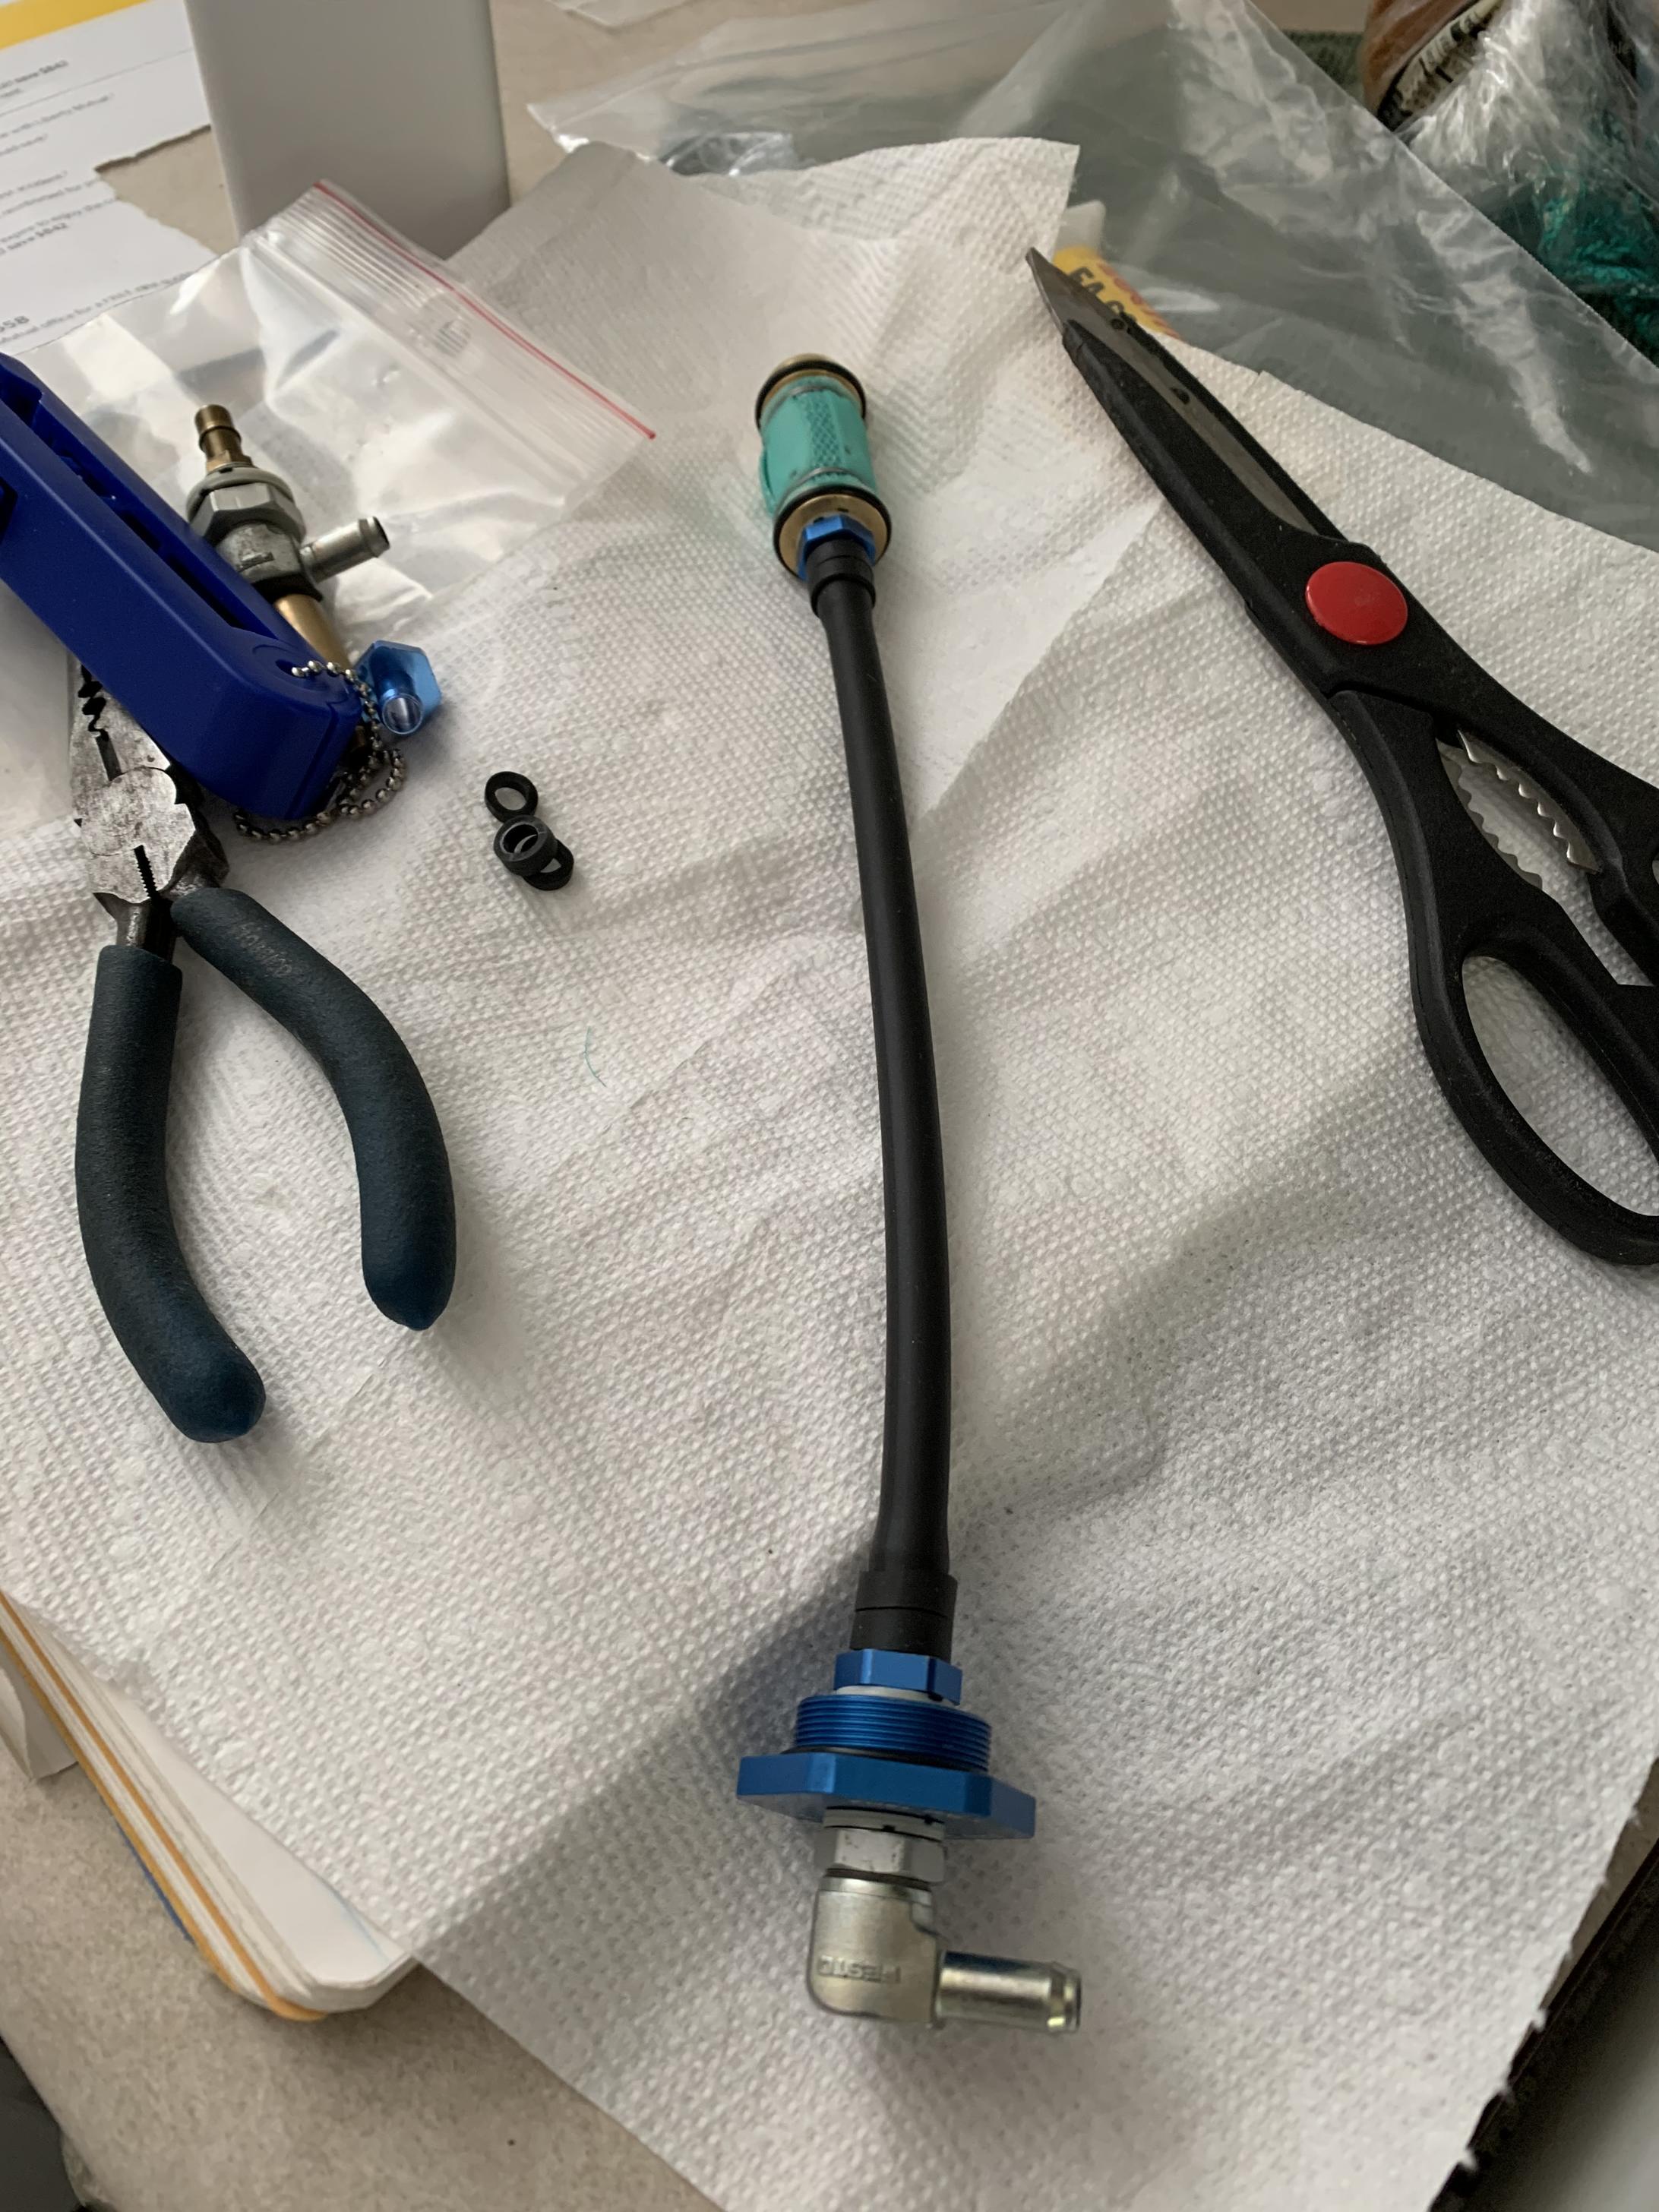
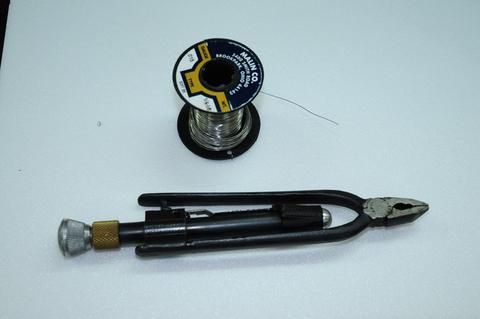
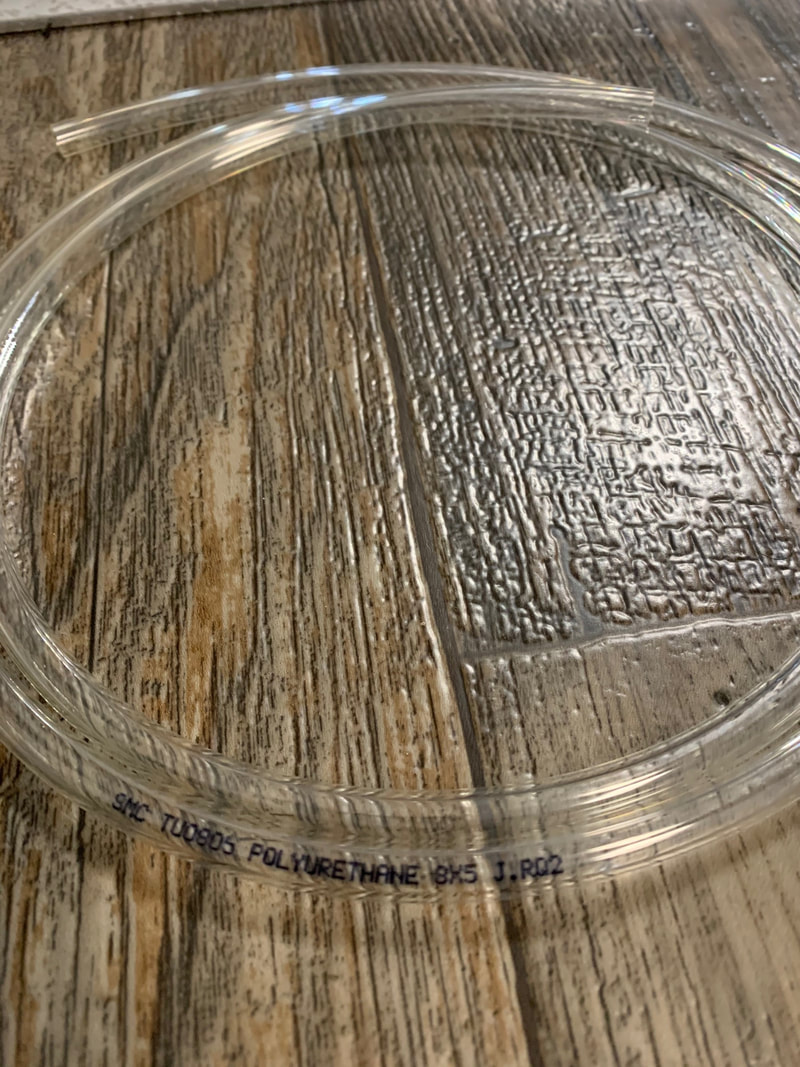
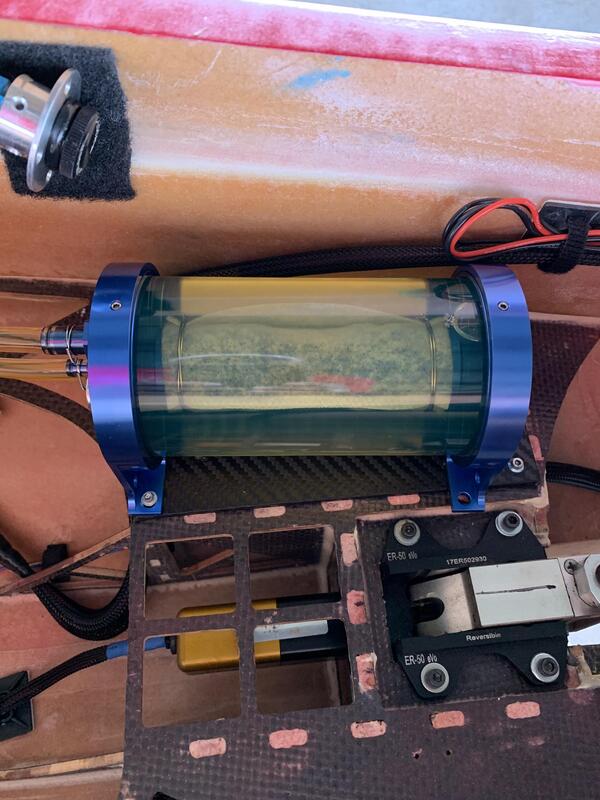
BEFORE you start reading my stuff below, it is best to check out this link so that you can familiarize yourself with areas that I will go into more detail pertaining to flying jet aerobatics. The writer lists out segments that you should be aware of and you do need to be! Learning to "safety wire" fuel lines may be a "blood-sport" in the initial stages until you get the hang of it. Be persistent! JET FUEL SYSTEMS Clunk: The fuel tank on the aircraft (for aerobatics) needs a bit more attention than the regular jet pilot focuses on. I would highly recommend that you start with a heavy clunk. Personally, I use the Digitech 8mm clunk, as it is filtered, heavy and will pick up the last drop of fuel. In addition,it will help to dissipate air. There is also the BVM High Flow clunk that pilots use, however, it is more prone to picking up air in the tank. Proper fuel flow from the fuel tank to the UAT, fuel pump, and ultimately the turbine is a must, for flying jet aerobatics. I found that this Digitech clunk had a wider diameter and would not fit through the existing hole in the front of the tank. Hence, I had to get a new Digitech fitting, cut out the old one and then insert the new one in. It was a bit of work, but well worth the time. The fuel line on the clunk should definitely be viton! I got mine from McMaster-Carr where they have a wide variety of i/d & o/d dimensions. I did find that you have to be very careful if you are going to safety wire viton, as you could easily cut through the tubing. I brought over a method that we sometimes use with gas lines by using two ¼" sections of the same viton tubing to secure it to the nipple. This method has worked for me for 5 years flying F3S aerobatics. I did not use any brass tubing in-line and allow the heavier clunk to move without hindrance in the tank to continue picking up fuel regardless of the aircraft's orientation. (See section 1.2.2 in the previous link.) Fuel Lines: The fuel that the turbines use (Diesel/JetA/Kerosene) and the delivery system is different from gas engines. Because of that, clear polyurethane tubing is highly recommended to route fuel from the tank, to the UAT, then to the fuel pump and lastly to the turbine. The material is much harder and will not collapse from the draw (suction side) of the pump as would (possibly) a softer material. These range from 8mm, 6mm and 4mm. Be aware that these dimensions are o/d and not i/d.They are a bit difficult to push on over the barbs but even more difficult to cut off if/when you are changing fuel lines. Pay special care not to use an exacto blade to cut off the tube when changing as you can damage the barbs.Try using a cutting pliers directed in line with the tubing, carefully. Always ensure that you use S/S safety wire on all connections and double loop before twisting! (See Section 1.1.2) I made the mistake of using specialized (curved) zip-ties which were made by Evinrude for their gas fuel lines in outboard motors. It lasted for a little while, but eventually started sucking air at the pump on the suction side and I experienced several flame-outs until I located where the issue was. I also noticed that many jet pilots run their overflow line straight down to the fitting at the bottom of the fuselage. This allows fuel to be lost on a downline when pulling out to horizontal (I saw it when judging at the Jet Red Flag event). I brought over a method that we use in aerobatics competition in which we coil a couple of turns on top of the tank before we lead the line out. I have NO fuel loss! One last thing on fuel tubing, it is important to get a square (90 degree) cut on fuel tubes especially when it's being inserted into a Festo connector or a cut off valve. A tool that I use is a SMC TK-3 to cut the tube properly so that it is secure inside the fitting.. UAT (Ultimate Air Trap): The purpose of this unit is to trap and collect any air that may come in from your fuel tank and prevent any (air bubbles) from going forward into the turbine. Having experienced several flame-outs while practicing, I delved deeper into the possible causes. One of the main issues, stemmed from the UAT. Some brands have a metal filter) which tends to clog up and restricts fuel flow), a foam filter with a hollow interior (which can collect air and then dispense it with full throttle draw) or an air filtered section that is not easily clogged. After going through the first two, I finally settled for the Digitech 250ml UAT, which has been working flawlessly. See photos on the right to compare before/after an 8 minute full aerobatics sequence flight.There are various UAT sizes for your specific needs and the filter (changeable at home) will last a long time. Depending on your turbine size, it is best to use 8mm fuel line from the tank and then 6mm to the pump.You can use 6mm from the tank also. The fill line fitting is the lowest connector on the UAT. Please make sure that you have a leakproof entry point for refilling or you may have air leaking in through into the UAT. Personally, I use the Jersey Modelers Dry Break refueling ports. This was used by Matt Balazs on his Futura and I followed suit. It has worked perfectly for me. It also comes with the full set-up for overflow and ports to a "catch tank." Fuel Pump: As much as possible run a direct line to the pump from the UAT without any connections. Always ensure that you safety wire both in/out nipples. As mentioned in the turbine instruction manual, use the supplied metal filter in the correct vertical orientation as this helps to get any possible trapped air out (especially when first purging the system). Try not to use a plastic fuel filter!! You may regret it sooner than later. Place the in-line metal filter before the shut off valve so that you can easily purge the system without flooding the turbine. A fuel shut-off valve is required by the AMA for safe turbine operation. Things to pay attention to: TURBINE. The very word "Turbine" conjures up visions of technicalities beyond our comprehension. Fortunately, for the new jet pilot, all of the math equations etc. have been simplified into a small box called the ECU (Engine Control Unit). The ECU has all the pre-programmed information to allow the turbine to work properly, and, the most important initial set-up is to perform the "Learn R/C" step as required. This adapts the ECU to your particular radio throttle settings, specifically, to start, stop and idle the turbine. Initially, I would not mess around with the settings of the ECU. The only thing I would change is the Thrust Curve from "Half Expo" (default setting) to "Linear." This would give you a closer feel to what you may be accustomed to with gas engines. Matt Balazs used a "rotary knob" for the throttle trim and I followed his lead as that made it easier (for me) to set up the start and shut down positions for the turbine. Some pilots use the normal throttle trim but fiddling with a trim was not for me. Once the radio is set up, starting the engine is simply a matter of moving the rotary trim to the start position and moving your throttle stick forward and then back to idle position & then sit back & wait!! That's all folks! There are a few things to consider when setting up the turbine: a) Ensure that it is centered in the thrust tube looking from behind & at the proper distance from the beginning of the tube (not the bell section). b) Use the correct battery voltage as required by the manufacturer. For the KingTech, a LiFe 9.9v battery is required. I recommend the 3800Mah which gives adequate power for 5-6 flights. c) Use the recommended KTech oil and fuel/oil ratio as suggested by the manufacturer. Consider using anti-static fluid if needed. KTech oil now has a red dye to ascertain if mixed with fuel. d) Run a ground strap from the mount of the turbine to the thrust tube to deplete any static electricity. e) Decide whether or not to mount the GSU (Ground Support Unit) on board the aircraft. f) ALWAYS use a FOD screen (Foreign Object Damage). g) Purge the fuel line of air completely prior to the first start of the turbine. Subsequent starts will not need purging. h) Remember that a fuel shut off valve is required by the AMA for safe operation of turbines. |
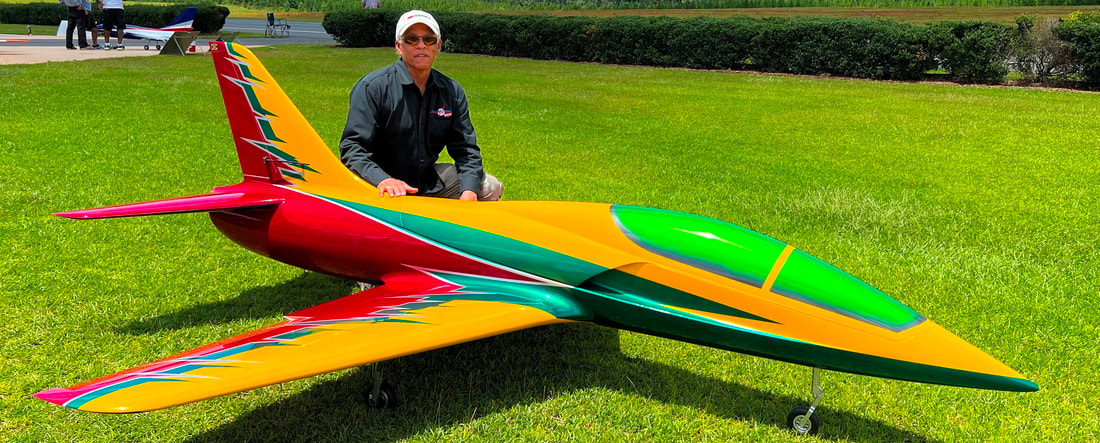
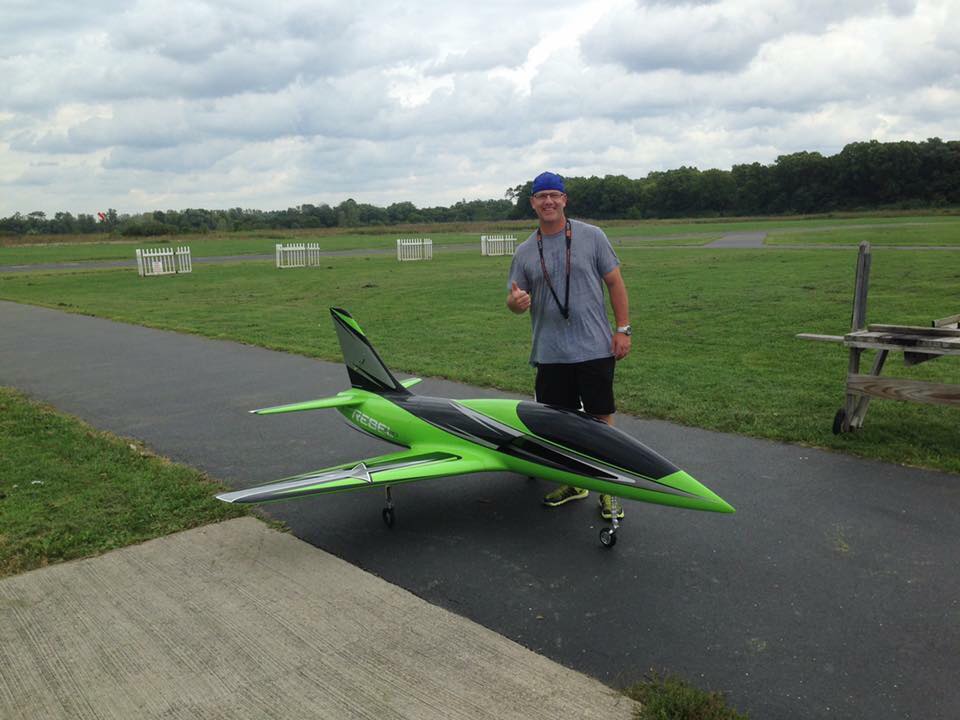
My CARF Rebel Pro set up for F3S Jet Aerobatics
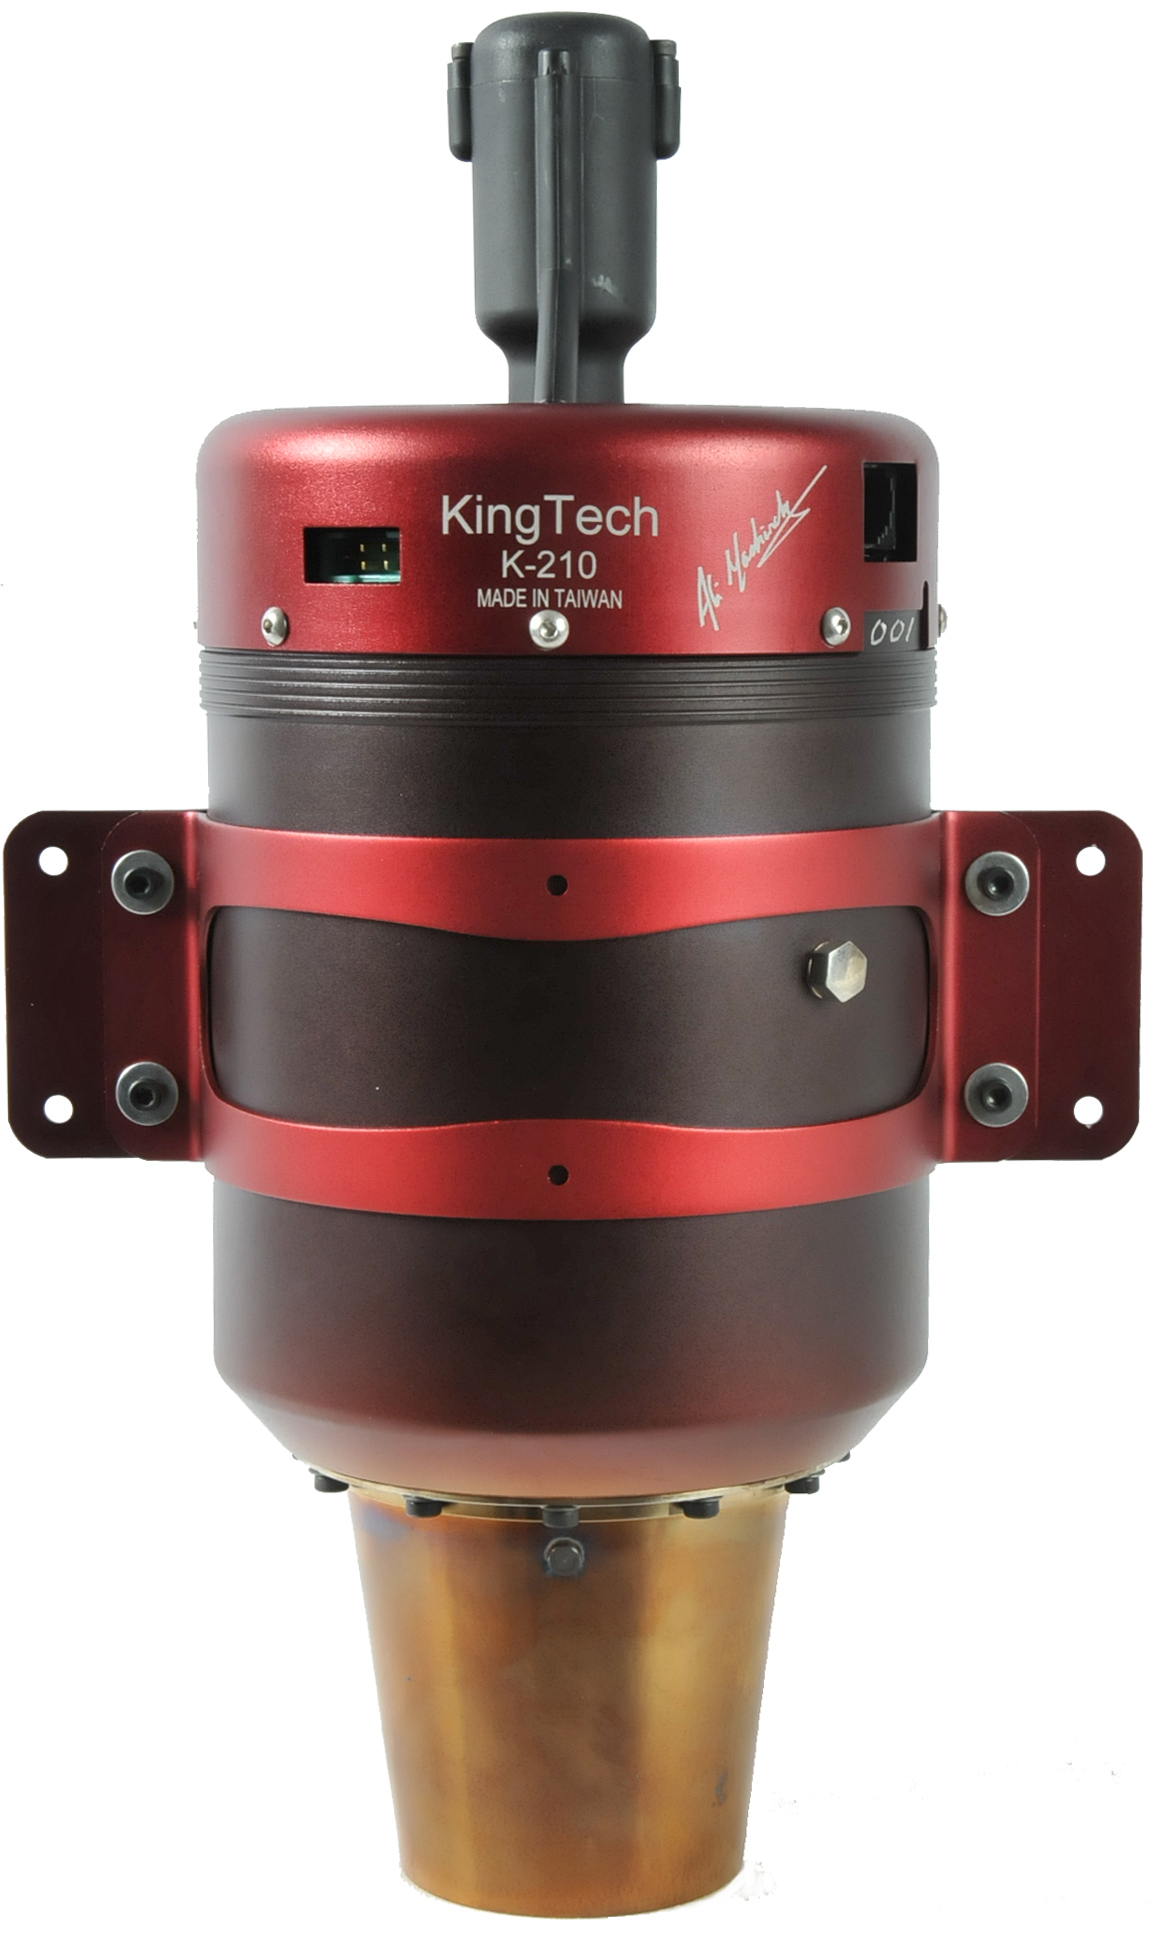
KingTech 210 G-2
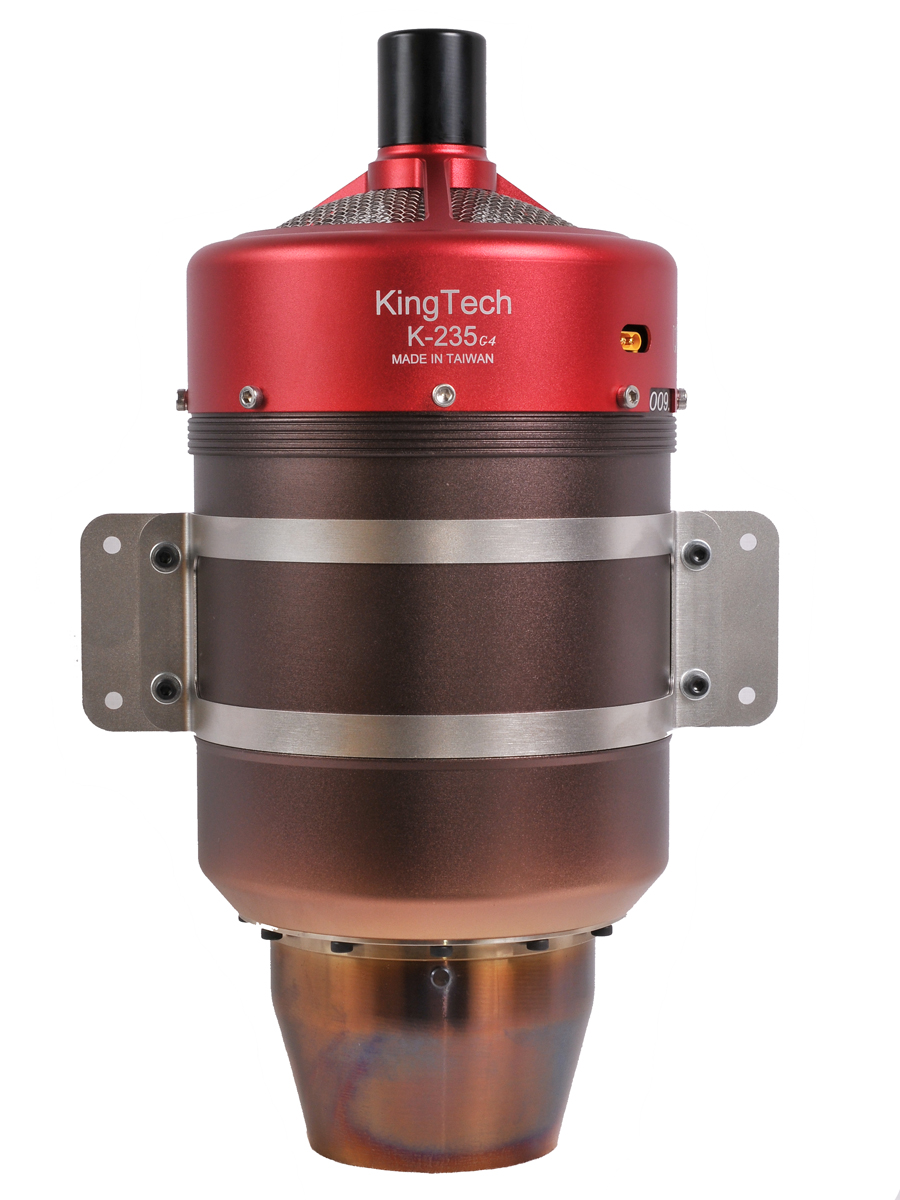
King Tech 235 G-4
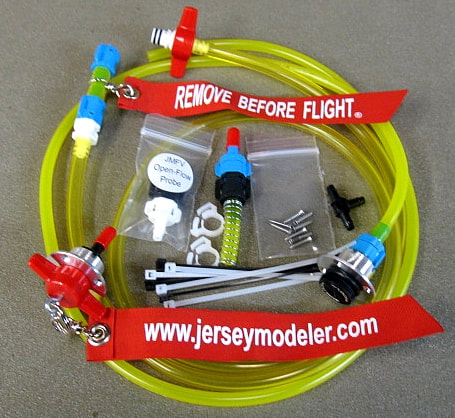
Jersey Modeler Dry Break filler.
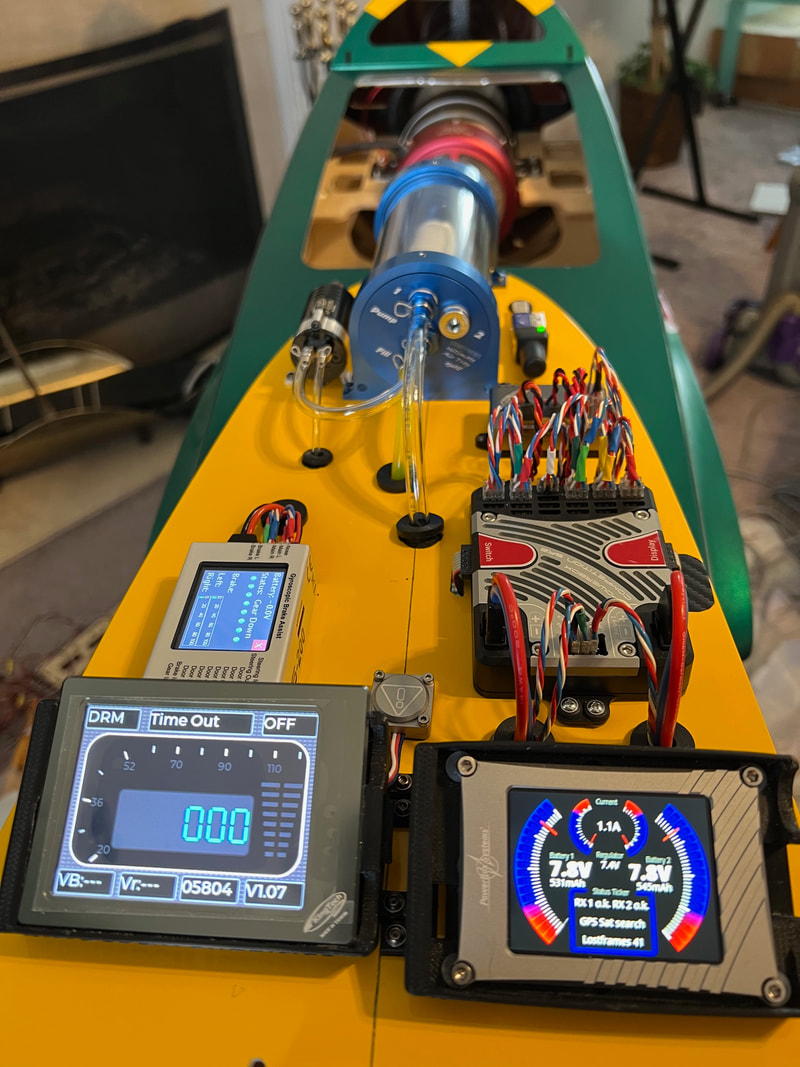
Layout of fuel pump and electrical system.
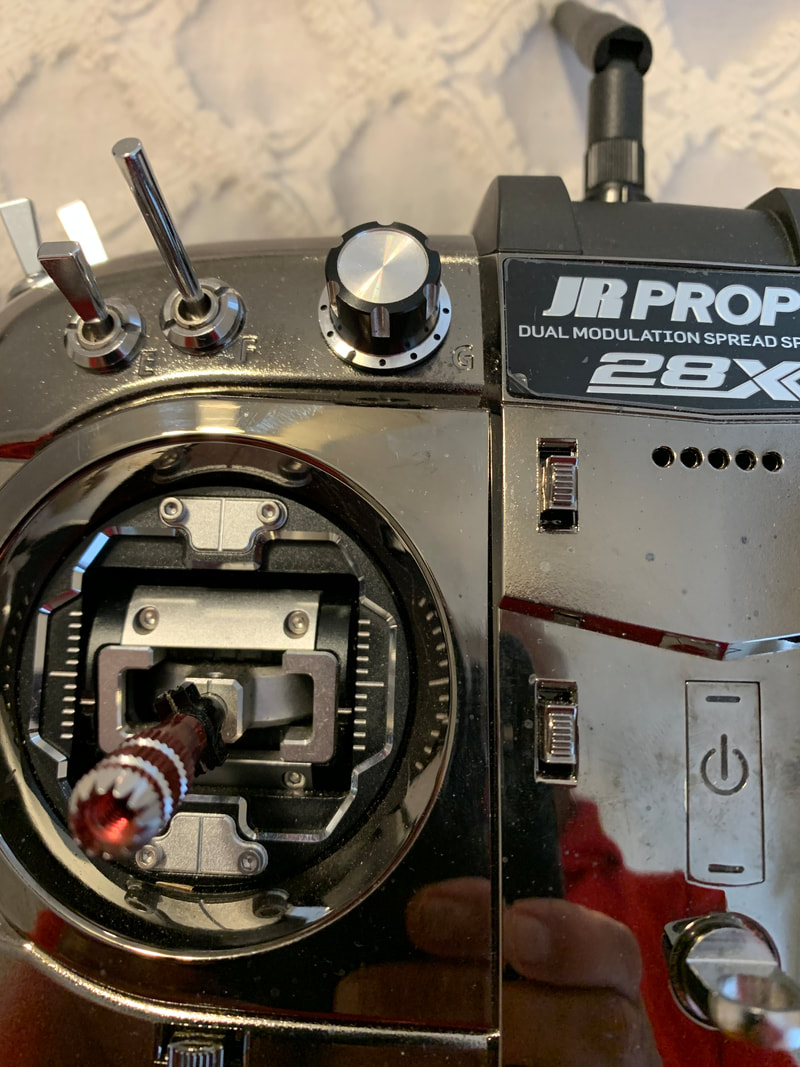
Throttle trim moved to rotary knob "G" on my radio.
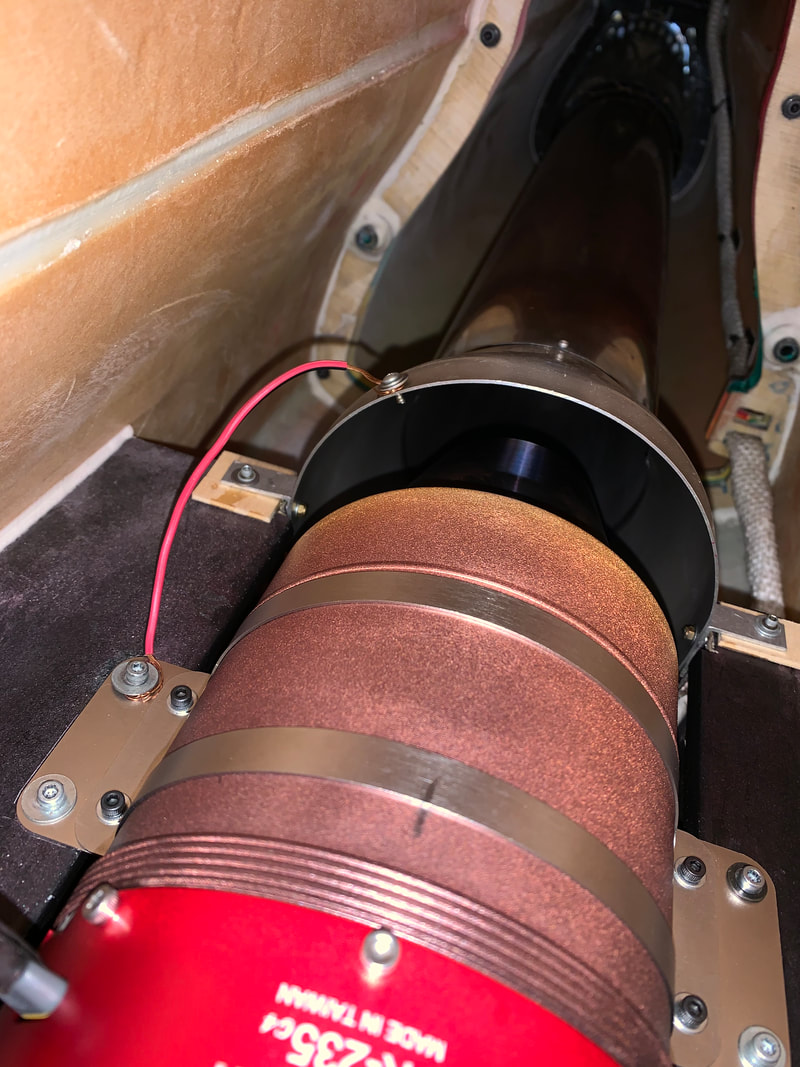
Grounding strap from turbine mount to thrust tube.
|

|
|